Indoor Plants: How to Read Their Signals and Keep Them Thriving
Indoor plants reward care with quiet beauty, cleaner air, and a touch of nature indoors. Yet, even the most well-meaning plant parent can find themselves frustrated when leaves yellow, droop, or develop spots. The key isn’t just following generic care rules but understanding why problems happen and responding to what your plants are actually telling you.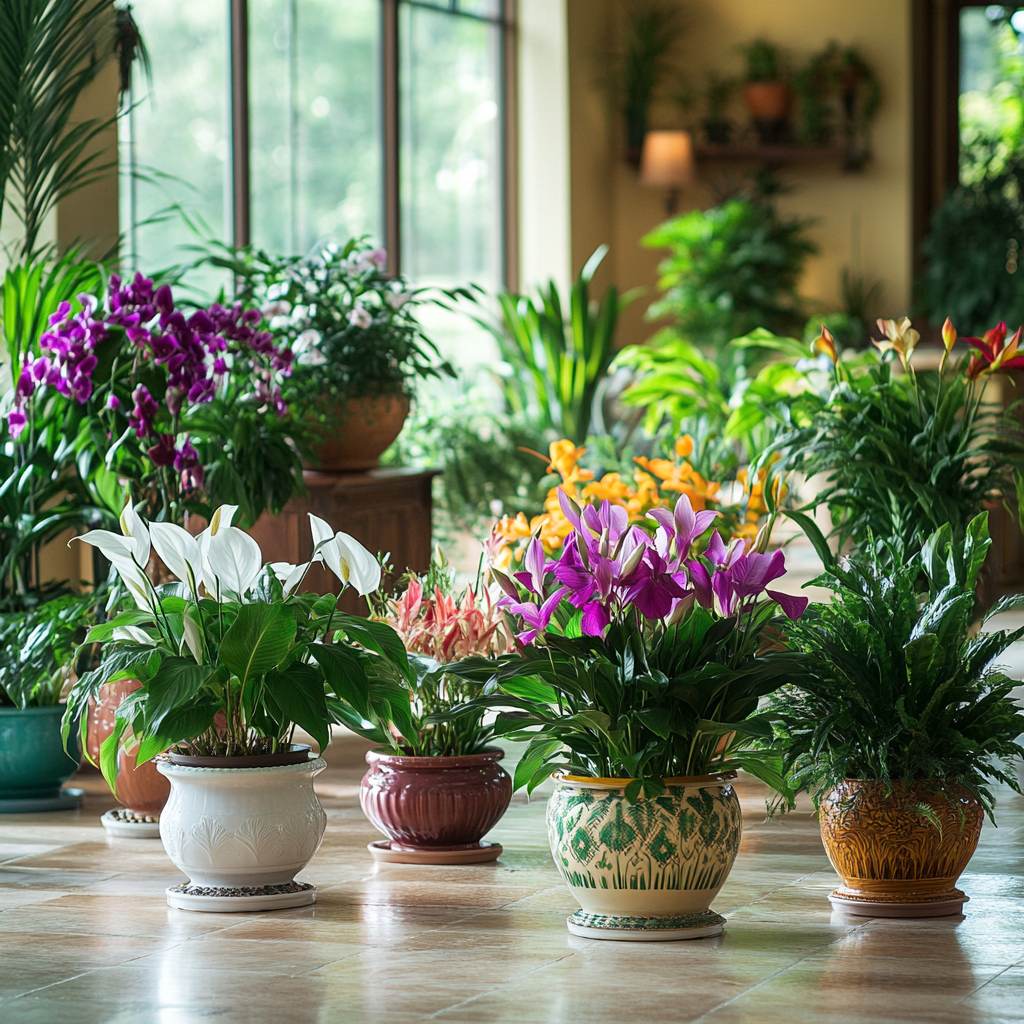
This guide breaks down common indoor plant issues by symptoms, explains their causes clearly, and offers straightforward recovery steps. You’ll also find practical advice on matching plants to your environment, useful tools, and an example of rescuing a struggling plant. The goal is to help you build confidence through observation, not guesswork.
When Leaves Yellow: What’s Really Going On and How to Fix It
Yellow leaves are among the most common signs that something’s off. Here’s how to tell what’s causing it:
Main Causes:
- Overwatering: Roots drown in soggy soil and start to rot. They can’t feed the plant properly.
- Nutrient Deficiency: Sometimes the soil is empty of key nutrients if fertilizer hasn’t been added.
How to Check:
Push your finger about an inch into the soil. If it feels wet or smells sour, overwatering is likely. Uniform yellowing often points to water problems, while patchy yellow spots might mean nutrients or pests.
What To Do Next:
- Stop watering until the soil dries out completely.
- If roots look dark or mushy when you lift the plant gently from its pot, repot with fresh well-draining mix.
- Once new healthy leaves appear, feed with a balanced fertilizer at quarter strength every 4 weeks during growing season.
Wilting or Drooping Leaves: Is It Thirst or Heat?
Leaves that droop usually mean your plant needs water, but sometimes heat stress is sneaky.
Why It Happens:
- Underwatering: Dry roots can’t keep leaves firm.
- Heat Stress: Close proximity to heaters or strong afternoon sun can cause wilting during hot hours.
How To Diagnose:
Dig down a couple inches to check moisture. Dry soil means underwatering; moist soil with daytime drooping suggests heat stress.
How To Help Your Plant:
- Water thoroughly until water drains from pot bottom.
- Move it away from radiators or direct sun that gets too hot.
- Increase humidity by misting daily or placing a pebble tray with water under the pot.
Brown Leaf Tips and Edges: The Humidity and Water Quality Connection
Brown tips creeping up your leaves? This often signals dryness or chemical sensitivity.
Typical Causes:
- Low humidity especially hurts tropical plants like ferns and peace lilies.
- Tap water containing fluoride or chlorine can cause leaf tip burn over time.
Spotting the Problem:
If brown edges develop slowly on older leaves while new growth looks good, low humidity is likely. Sharp brown edges paired with curled leaves point toward chemical damage from water.
Simple Fixes:
- Group humidity-loving plants together or run a humidifier in dry months.
- Use distilled or rainwater for sensitive species when possible.
- Trim brown tips neatly without cutting entire leaves unless heavily damaged.
Leaf Spots (Black/Brown Patches): Fighting Fungal and Bacterial Invaders
Spots that spread quickly mean pathogens are active on your plant’s surface.
Causes To Watch For:
- Fungi thrive in still air and wet leaves caused by overhead watering.
- Bacterial infections produce wet-looking lesions that spread fast.
How To Confirm:
Look underneath leaves for mold growth or slimy patches.
Steps for Recovery:
- Cut off affected leaves with sterilized scissors; throw them away far from other plants.
- Improve airflow by spacing plants out; consider a fan if air is stagnant indoors.
- Water at soil level only; avoid spraying foliage directly.
Sticky Residue and Visible Bugs: Tackling Sap-Sucking Pests
Sticky honeydew on leaves means pests like aphids, mealybugs, scale insects, or spider mites have moved in.
Signs To Spot:
Tiny moving dots under leaves, white cotton-like fluff (mealybugs), or fine webs (spider mites).
How To Respond Immediately:
- Quarantine the infected plant from others.
- Dab pests off gently using cotton swabs soaked in rubbing alcohol.
- Use insecticidal soap or neem oil spray every 5–7 days until all pests disappear; consistency is key.
Practical Habits That Make Troubleshooting Easier
Spending just a few minutes each week looking closely at your plants helps catch problems early:
- Feel the soil before watering, don’t rely on set schedules.
- Peek under leaves regularly for eggs or bugs.
- Rotate pots monthly so plants grow evenly toward light sources.
- Wipe dust off broad leaves with a damp cloth so they photosynthesize better.
- Keep a simple notebook logging watering dates and any changes noticed, this helps spot patterns over time.
Matching Plants to Your Home Environment Saves Trouble From Day One
Selecting plants suited for your light levels and temperature avoids many headaches later:
| Light Condition | Plants That Work Well | Why |
|---|---|---|
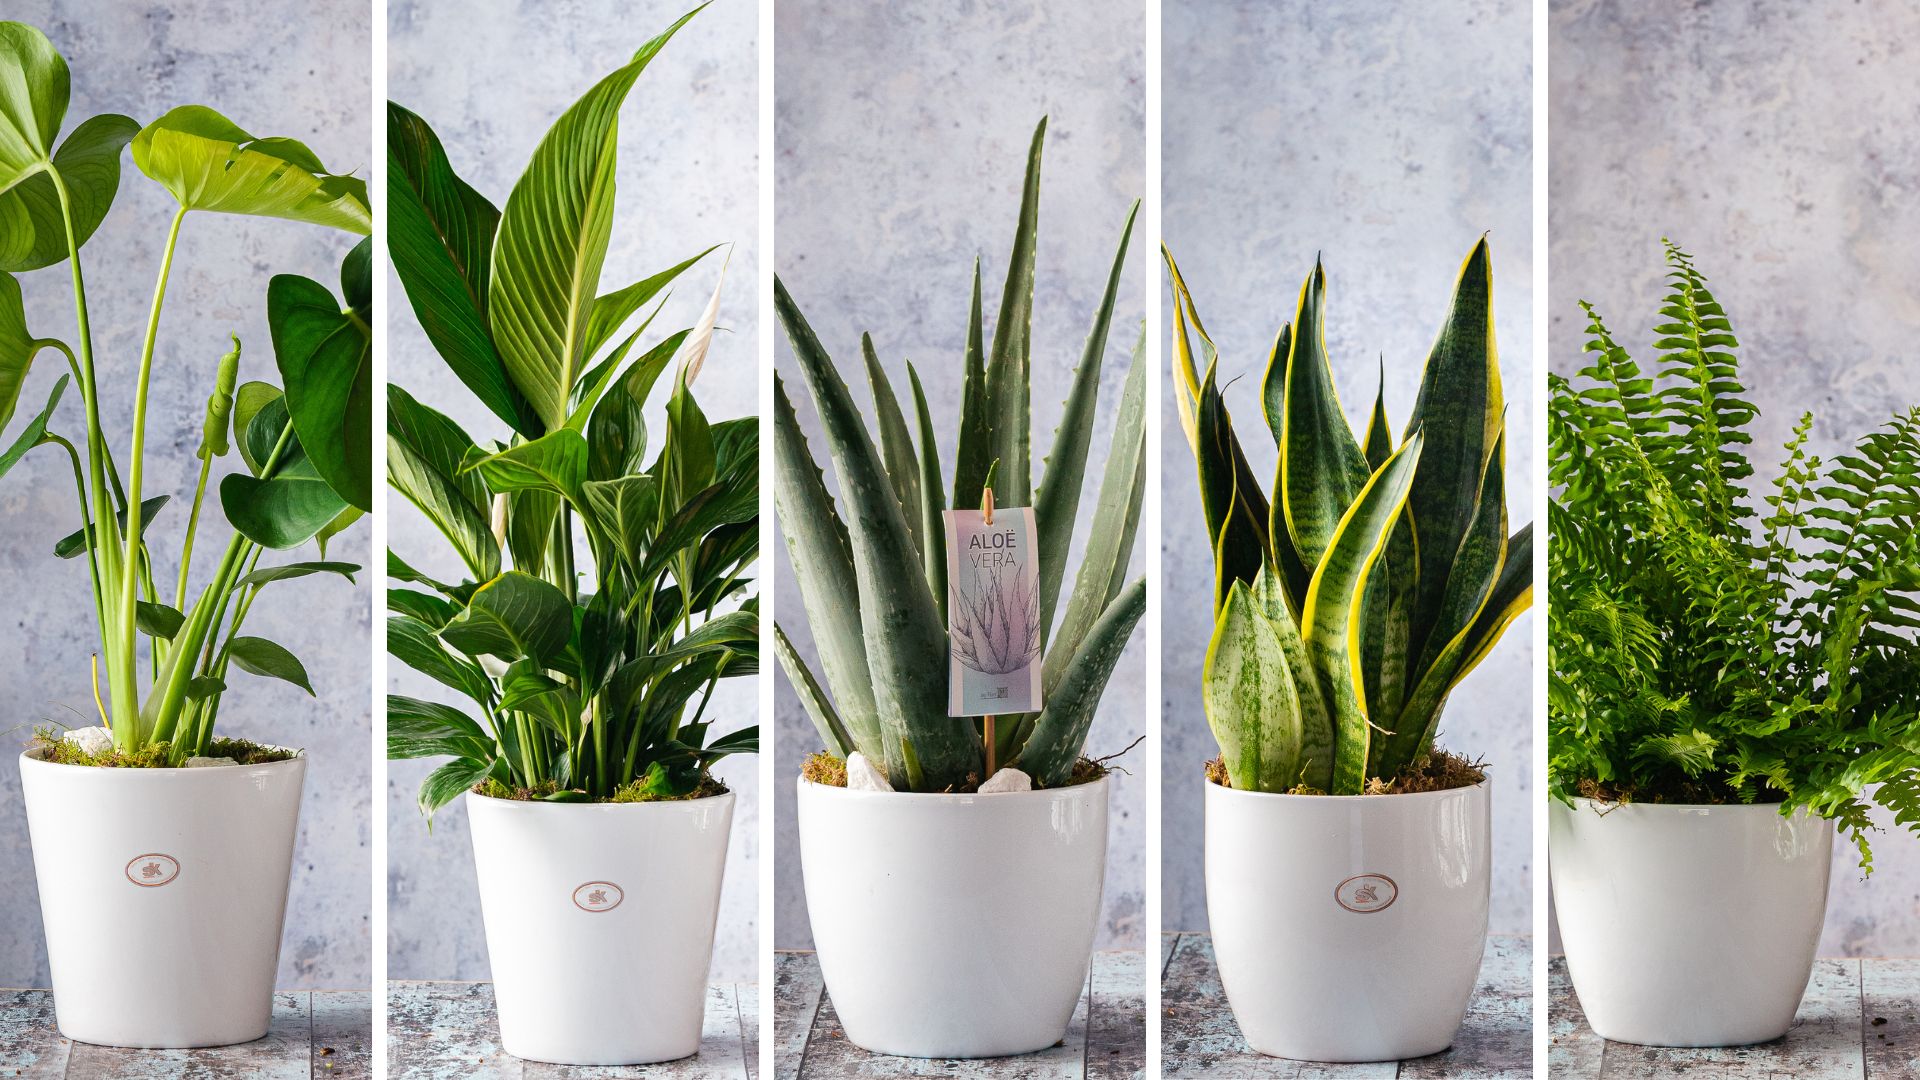
| Low Light (<100 fc) | Snake Plant (Sansevieria), ZZ Plant | Tolerate shade; need less water |
| Medium/Indirect | Pothos (Devil’s Ivy), Spider Plant | Thrive in filtered sunlight |
| Bright/Direct Sun | Succulents (Echeveria), Herbs like Basil | Adapted for strong light exposure |
Knowing this upfront prevents frustration from repeatedly replacing struggling greenery.
Composite Example: Bringing a Wilting Peace Lily Back From Near Collapse
A friend once brought me her peace lily that was drooping badly despite daily misting and frequent watering:
- We checked soil deeply, it was bone dry two inches below surface despite damp topsoil from misting only.
- Moved it out of harsh west-facing window into bright indirect morning light near an east window.
- Watered deeply once weekly only after top inch dried out properly.
- Added humidity by grouping tropical plants together with a pebble tray beneath pots.
- Within 10 days new shoots perked up; after three weeks all leaves were strong again.
This shows why misting alone doesn’t hydrate roots adequately, and how adjusting light exposure reveals hidden stress factors most won’t notice right away.
Essential Tools That Make Indoor Plant Care More Certain
| Tool | Purpose | When To Use |
|---|---|---|
| Soil Moisture Meter | Removes guesswork about when to water | Helpful if you tend toward overwatering |
| Pruning Shears | Makes clean cuts that heal faster than tears | For trimming dead/diseased parts |
| Humidifier | Raises moisture levels needed by tropicals | In dry rooms especially during winter |
| Grow Lights | Supplements natural light when indoors are dim | Rooms lacking sufficient daylight |
| Neem Oil/Insecticidal Soap | Natural pest control | At first sign of infestation; repeat as needed |
Even simple tools combined with regular attention transform care into confident action instead of frustration.
Propagation Basics: Growing Your Indoor Garden Without Buying New Plants
Adding new plants by propagation saves money and deepens your connection with your greenery:
Stem Cuttings (Pothos, Spider Plant)
- Cut healthy stem sections about 4–6 inches long below leaf nodes.
- Remove lower leaves so stem ends sit clear in water or moist soil.
- Place cuttings in indirect light; roots should form within 2–4 weeks before potting up.
Leaf Cuttings (Snake Plant)
- Cut individual healthy leaves near base into 3–4 inch segments.
- Let cut ends callous over for a day to prevent rot.
- Insert cut ends upright into moist potting mix designed for succulents; roots develop slowly over several weeks.
Propagation helps you multiply favorite species while learning more about their growth cycles firsthand.
Repotting With Confidence: When and How To Refresh Your Plants’ Homes
Repotting gives roots room to grow and fresh nutrients but doing it improperly stresses plants further:
Signs You Need To Repot:
- Roots circling tightly around bottom of pot when lifted
- Soil dries out very fast after watering
- Plant looks too big for current container
- Soil smells sour or has white crusty buildup on surface
How To Repot Correctly:
- Choose a pot one size larger with drainage holes.
- Use fresh potting mix appropriate for your plant species (e.g., cactus mix for succulents).
- Gently loosen root ball before placing in new pot if rootbound, cut away dead/damaged roots carefully.
- Fill around roots firmly but don’t compact soil too much; water thoroughly after repotting but avoid overwatering during recovery phase.
Repotting ideally happens in spring/summer active growing months, not winter dormancy, to minimize shock.
Preventative Care Strategies That Keep Problems Away Longer
Rather than waiting for symptoms to show up, take these steps regularly:
- Avoid overhead watering where possible; wet foliage invites disease
- Quarantine any new plants for 2 weeks before adding them near others
- Use fresh clean pots when repotting, not dirty reused containers
- Adjust watering frequency seasonally, plants need less in winter dormancy
- Regularly prune old yellowing foliage so energy goes toward new growth
- Provide proper lighting according to species needs rather than forcing unsuitable placements
These habits reduce risk factors so you spend more time enjoying healthy green friends than fixing crises later on.
What Recovery Looks Like Over Time, Expectations Matter
Understanding how long symptoms take to improve helps avoid premature despair:
| Symptom | Typical Recovery Timeline |
|---|---|
| Yellow Leaves | New leaf growth visible within 2–4 weeks |
| Wilting/Drooping | Leaves firm again within days after watering properly |
| Brown Tips/Edges | New growth free of browning appears slowly over several weeks |
| Leaf Spots | Disease stops spreading once infected parts removed immediately |
| Pest Infestation | Clear pest-free condition usually requires multiple treatments over 2–4 weeks |
Patience paired with consistent care leads most indoor plants back from trouble without permanent damage if issues are caught early enough.
Your indoor garden isn’t just decoration, it’s a living community that responds richly when you learn its language through careful observation and thoughtful adjustments tailored uniquely to your space and lifestyle.
You’re already halfway there by paying close attention now, keep listening deeply as you care now; your green companions will thrive alongside you year after year.
